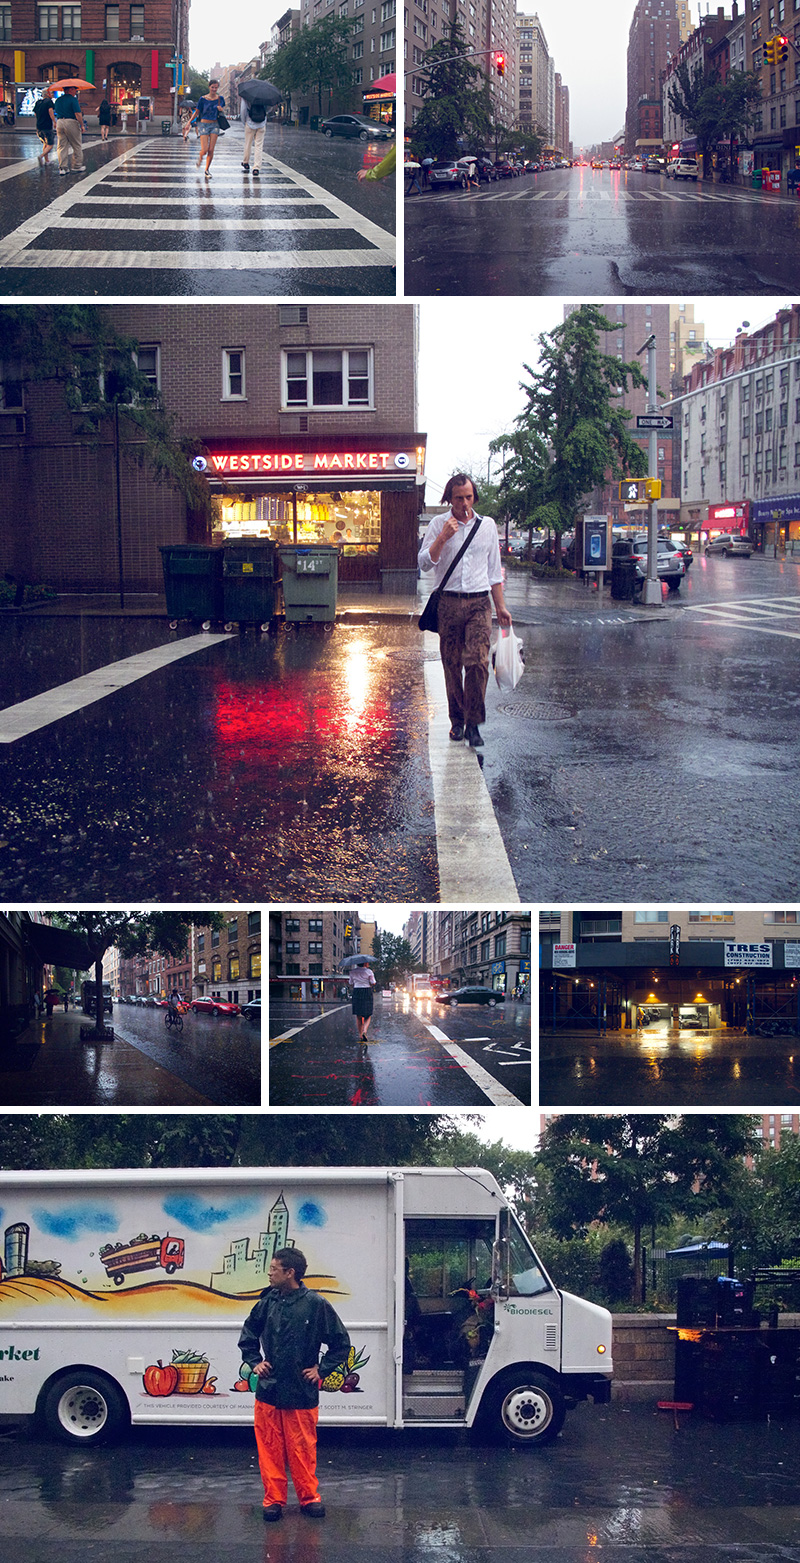
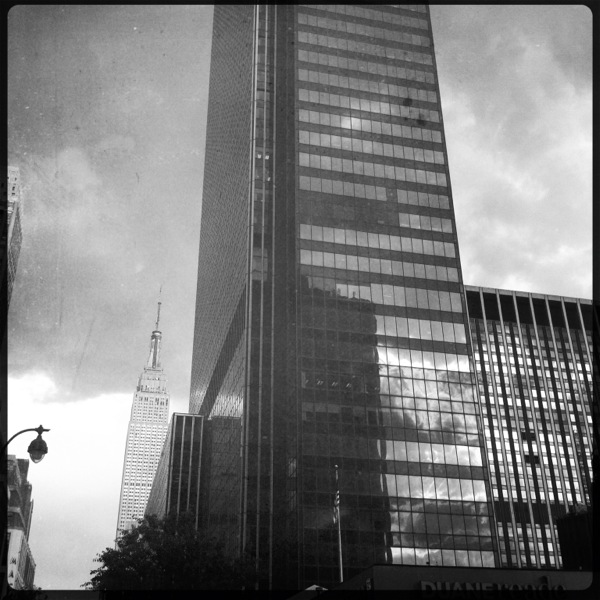
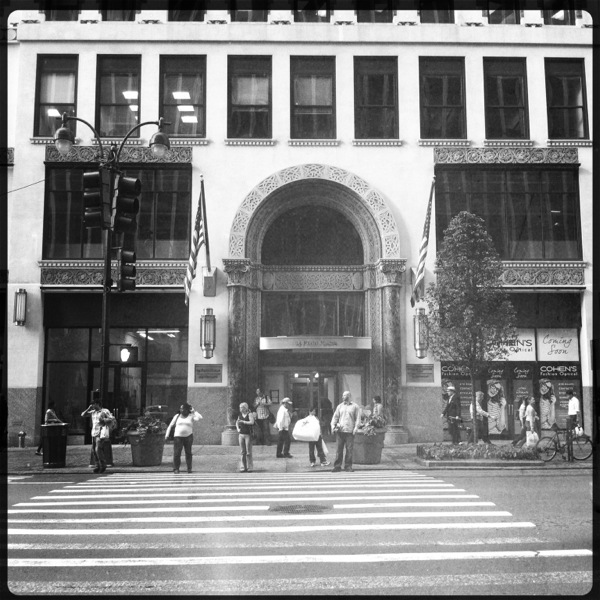
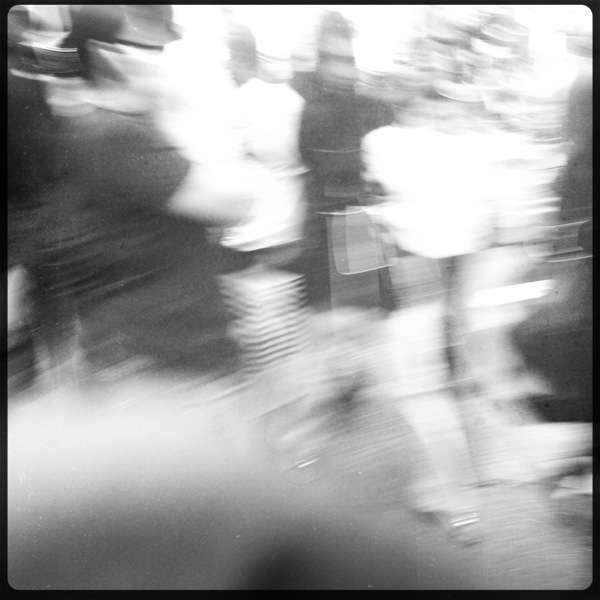
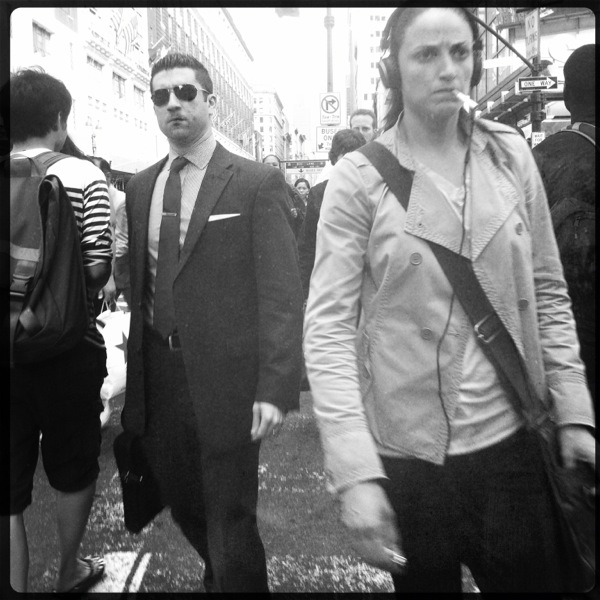
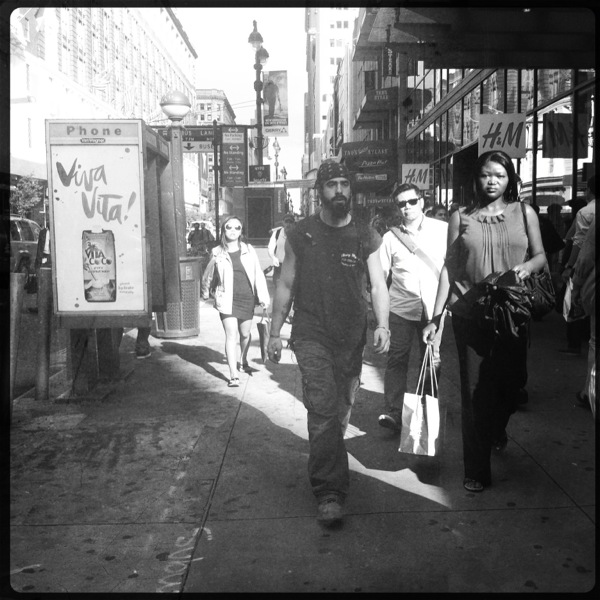
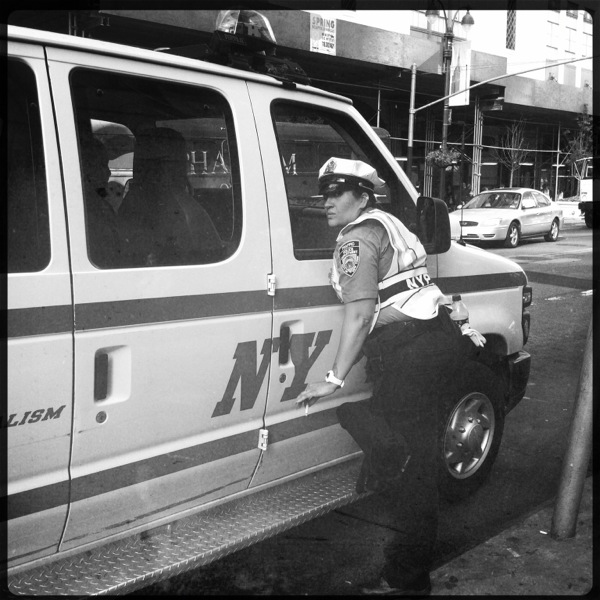
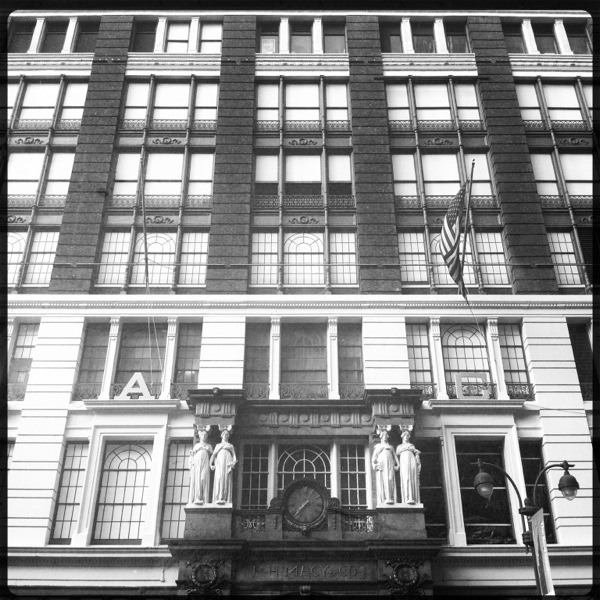
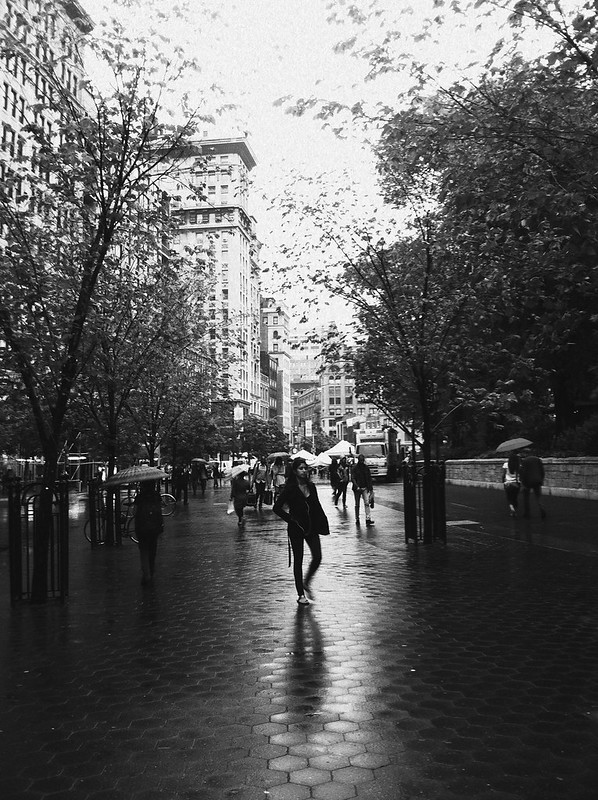
A few scenes from an intense summer rain storm in New York City. Shot as I walked from Chelsea to Union Square.
Northern Spy Food Co.
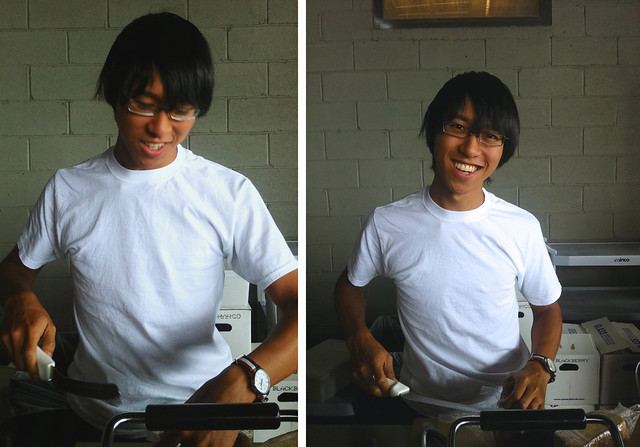
My wife and I made a visit to the always awesome Highline Park yesterday, where I made this portrait of the young sandwich artist (artisan?) who hooked up our excellent grilled cheese sandwiches at the Northern Spy Food Co.’s Highline outpost. Like many other photographers, it’s an ongoing goal of mine to shoot more portraits of strangers, so this was a small step in that direction for me. Sadly, I neglected to get my subject’s name — definitely a rookie move on my part.
Incidentally, the sandwiches were slowly crafted and went well with the gazpacho we shared. Gazpacho is one of those things that’s never my first choice, but when I do have it, I enjoy it immensely. We finished our meal off with a tasty treat from L’Arte del Gelato across the way. Delicioso!
One last note: I made my diptych above with Tych Panel, which was recently updated for compatibility with Photoshp CS6. For the unfamiliar, Tych Panel is a fantastic extension for Photoshop that allows you to easily create n-tychs from a group of photographs. I highly recommend it.
RetinaBook Pro
I stopped by the West 14th Street Apple Store, and having seen it in person, I can join in the chorus: Apple’s new MacBook Pro with Retinal Display definitely looks amazing. Thin, light, fast as hell. I’m in the camp that thinks it’s pricey, but will get cheaper in a generation or so (like the MacBook Air did). It’s the direction the notebook industry as a whole will invariably go in.
34th Street, NYC
Shot on a short walk from 8th to 6th Avenue, and in the subway at Herald Square.
Leap and T(ether): Our Minority Report Future Draws Ever Nearer
Interesting things are happening on the gestural/spatial computer interaction front. First up, Leap Motion garnered a lot of buzz a week or two ago. This little brick hangs out next to your computer and allows you to interact with it by tracking your gestures. It seems to be tracking movements at an incredibly high-resolution, too, as seen in this demo:
An SDK and app store are in the works, promising lots of fun stuff will be readily available when the Leap Motion ships at the end of the year.
T(ether), from the MIT Media Lab is an iPad-based 3D object manipulation and animation tool. Using motion capture and the built-in cameras on the iPad, it offers immersive interaction with the 3D data, and even allows multiple people to collaboratively edit the same virtual environment. The video explains it better than I ever could:
While you can pre-order the Leap Motion for the grand sum of $70, the T(ether) appears to be still in the concept phase. The future is here, man.
Scenes from the Commute
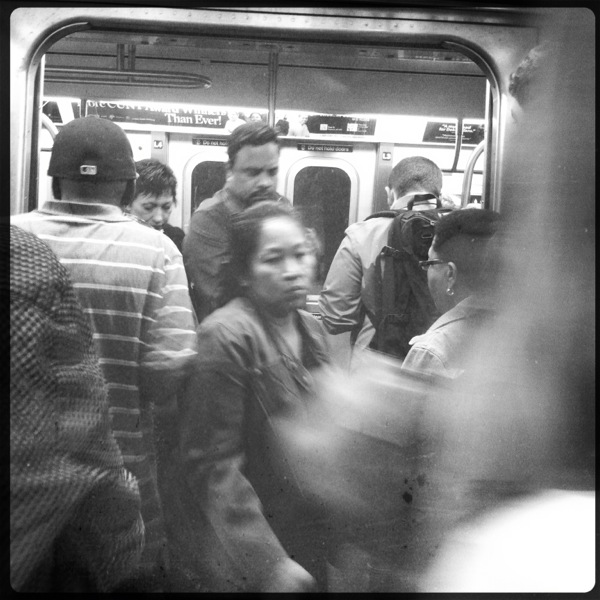
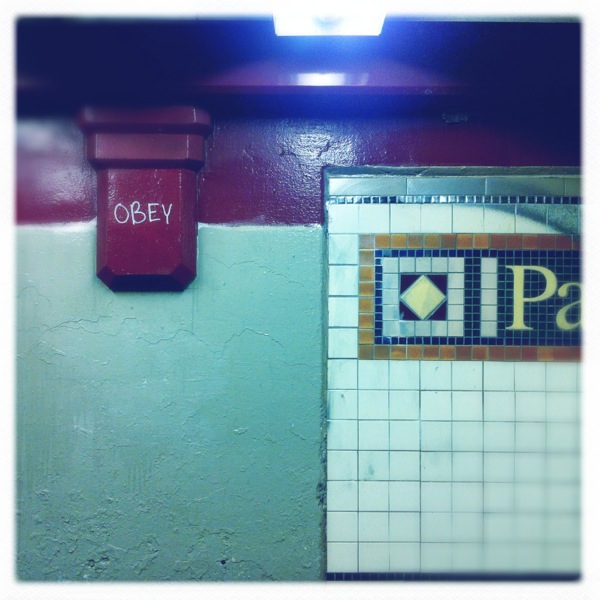
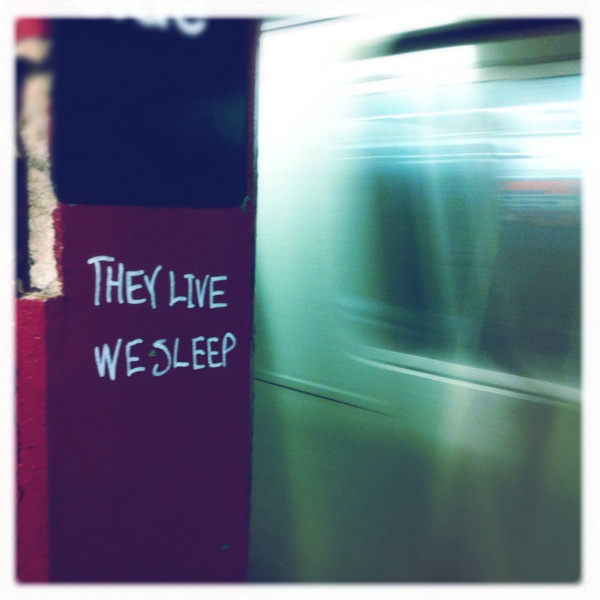
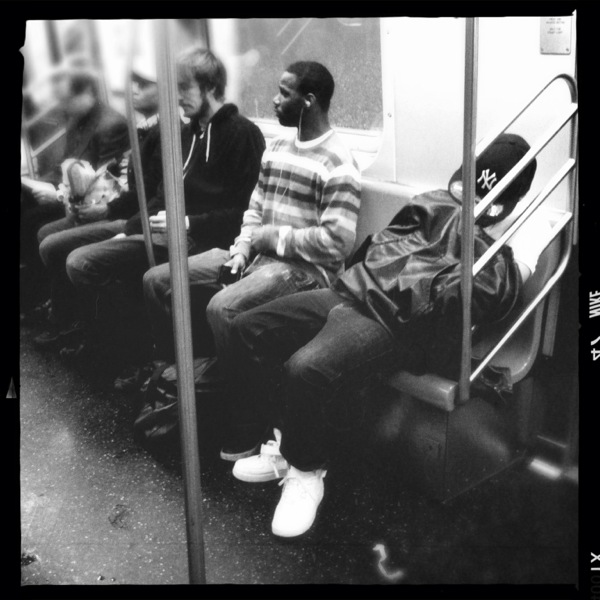
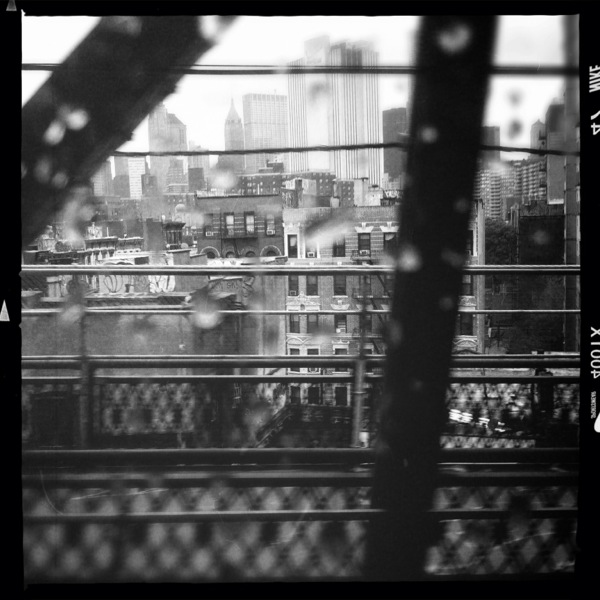
This week's commute includes a bit of anti-consumerist graffiti, a sleepy Yankees fan and an in-passing shot of the Manhattan bridge.
One World Trade Center

Here’s a vertical pano of the still-under-construction World Trade Center building that I shot a few weeks ago. I had rented a 100-400mm zoom lens from Adorama over the weekend, and wanted to get in a few last shots before returning it, so I could get the most possible bang for my buck out of it. I decided that a good way to do that would be to get up early and walk across the Brooklyn Bridge before work, and get some shots that I normally wouldn’t be able to with my own stable of lenses.
This shot is a vertical panorama stitched together from three shots, and at full size, it’s a whopping 3403 x 9236 pixels. I scaled it down to a more respectable 6000 pixels tall before uploading it to Flickr, but even at that size you can still see some construction workers if you look closely.
The development has had its share of problems (consider that the Burj Khalifa was started after and completed years sooner than One WTC), but I think it’s shaping up to be a gorgeous building. It recently achieved the milestone of surpassing the Empire State Building in height, becoming the tallest building in New York City in the process, and will ultimately top out at a very symbolic 1776 feet when construction is complete.
The Shelby
I spent some time visiting a friend of mine up in Massachussetts on Memorial Day Weekend. This is his baby, a ‘67 Shelby Cobra GT500, much like the one Nic Cage drove in Gone in 60 Seconds:
More photos over on 500px.
Union Square
Shot with VSCO Cam on iPhone 4.
In the Studio with George Garzone and Esperanza Spalding
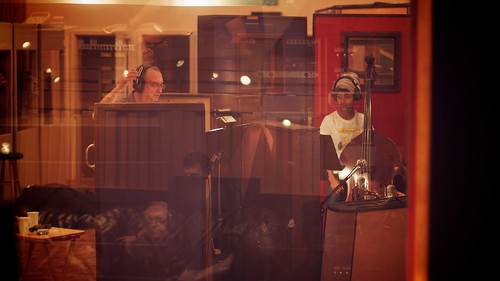
A week or so ago, a good friend of mine asked me to fill in for him on a photo shoot that he couldn’t make due to a conflict. The gig was for Jody Espina, reknowned sax player and maker of mouthpieces for saxophones and clarinets at JodyZazz.com. My job was to shoot a studio session with jazz saxophonist George Garzone, 2011 Best New Artist Grammy-winner Esperanza Spalding, and pianist-extraordinaire Leo Genovese. I was tasked with getting some casual behind-the-scenes shots of the artists as they interacted in the studio, and to make a few posed portraits as well.
I did my best to be as unobtrusive as possible, and to capture the interactions between the artists and engineers as they recorded several tracks for an upcoming album. Being absolutely ignorant about the nuances of jazz music, everything sounded equally incredible to me, but I watched them communicate their approval of specific phrases (that’s a word, right?) of the music either with subtle glances, nods or gestures — or sometimes with outright exclamations. It was as though they could hear some coded message in the music, or like watching people communicate in a secret language that only they know. It really is a pleasure to watch talented people work their craft.
The lighting in the studio was tricky, and I tried to make do with available light as much as possible, augmented in some spots by my Gary Fong Lightsphere. Towards the end of the shoot, I took advantage of a pause between recording sessions to set up my Westcott Apollo 28” softbox and 580EX II, and with that simple setup, was able to make a few portraits of George that I’m really pleased with.
Again, it was a great experience. The musicians were very laid back and, cool (as I guess you’d expect jazz musicians to be), and they treated me very warmly. The recording session took place at Systems Two Studio, a family-owned business that’s been operating in Brooklyn for the past 30-plus years. The gold records and Grammy award that line the walls are a testament to the long history of the establishment, spanning a multitude of genres from classical to heavy metal, and even movie soundtracks.
This shoot was very different from the kinds of shoots I typically do with families and kids. There are definitely things I’d do differently next time, but it was a great learning experience for me, and I look forward to being able to do a shoot like this again soon.
Parkside Avenue
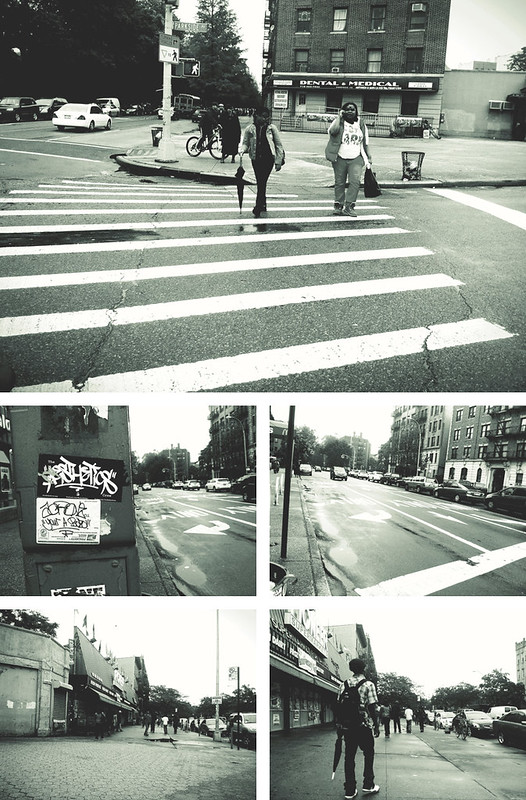
A montage of images shot with iPhone 4 and edited with Luminance App in the Prospect Park South neighborhood in Brooklyn.
Fun with Zoom Lenses
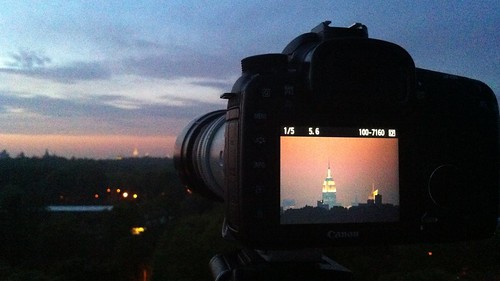
I have a nice zoom lens in my somewhat modest collection - a Canon 70-200 f/4L IS, which I sometimes use to shoot wildlife and portraits. However, for this weekend’s impending super moon, I wanted something with a little more kick. So I went over to Adorama’s rental center and picked up the Canon 100-400 f/4.5-5.6 L IS. I’ve never shot with a lens this big, so I decided to do a few test shots from my rooftop in Brooklyn.
The ESB is about 6.7 miles from my house, as the crow flies. Here’s what that shot looked like on the LCD of my Canon 7D:
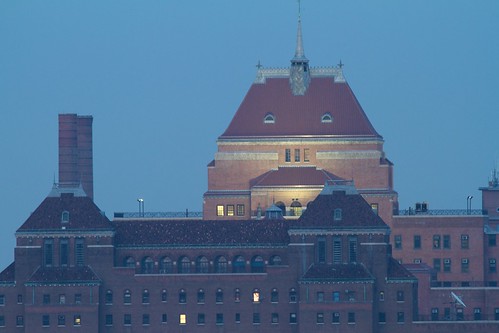
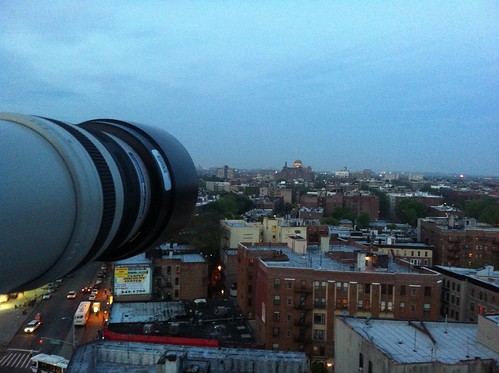
Here are a few more shots, just for fun.
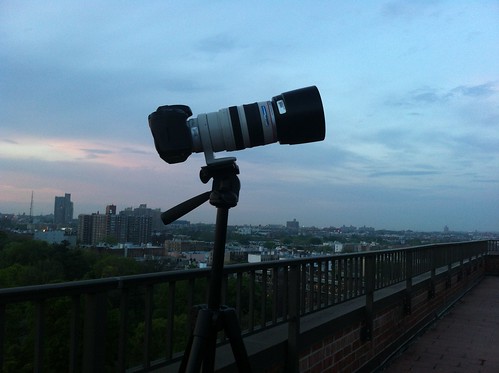
The setup:
And here’s a practice shot of the moon. I think it’s a nice shot, but my roof being the highest point in the immediate surrounding area, there’s nothing around to give it context. I’ll try to pick a different vantage point tonight.
VSCO CAM: App Review

A friend of mine hipped me to an amazing set of plugins for Lightroom, Photoshop and Aperture called VSCO Film. The point of these plugins is to very carefully and precisely emulate the look of classic film in your high-end photography, and I think they do so really well.
Visual Supply Company, the folks who make VSCO Film have just released their first iOS app, VSCO CAM, which aims to bring the same high-quality film photography emulation to your iPhone. I know that the market for apps that make your iPhone photos look like they were shot in 1974 is pretty saturated, but VSCO CAM is different - in general, the effects just seem to feel more timeless and less heavy-handed than what a lot of other apps produce.
The app itself is very minimal. It works sort of the same way Camera+ does, in that you can shoot continuously, and your photos get saved in a “lightbox” holding area until you’re ready to process and/or save them to your Camera Roll, or share them to a handful of external services, including the usual suspects like Instagram, Twitter, and Facebook.
Once you’re ready to edit, there are ten preset filters to choose from - three black and white, and seven color filters. (It took me a couple of days to realize that there were, in fact, ten filters, because there’s no indication that you can swipe to the right and find the five additional filters that aren’t visible on the initial editing screen.) Once you’ve chosen a filter, you can stop right there and save or share your photo, or you can refine the photo further by clicking on the little wrench and screwdriver icon to adjust various settings, including contrast, grain, saturation, temperature, and one that’s unique to VSCO CAM: fade. (Again, swipe to the right from the settings screen to find additional items you can adjust.)
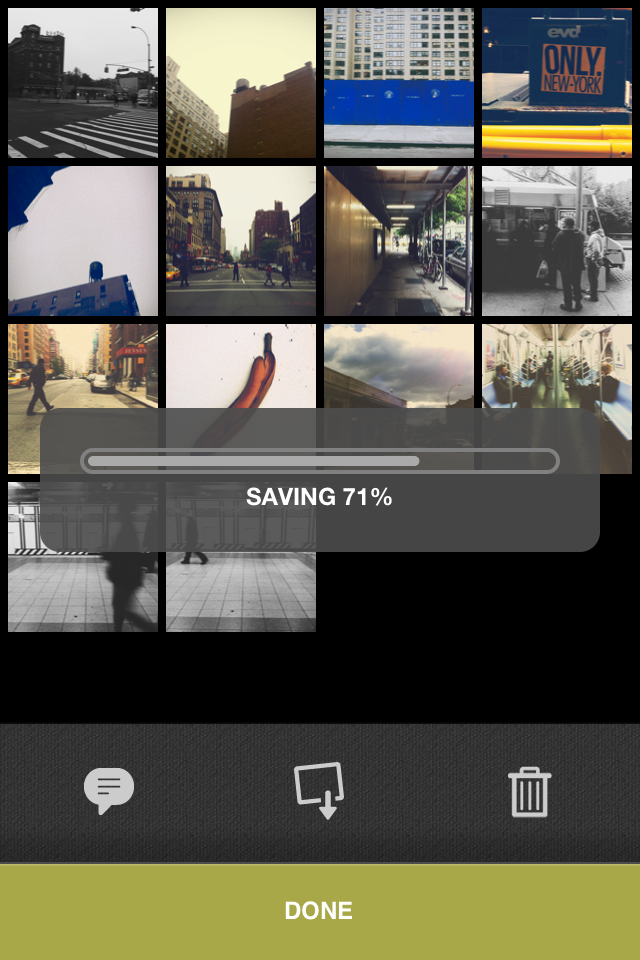
My one complaint with the app is how long it takes to save your processed images. On my way to work, I selected about 14 images that I had edited the night before, and chose to save them to my iPhone 4’s Camera Roll at full resolution. I started the operation right as I was getting into the subway station near my house in Brooklyn and it wasn’t done until I was almost all the way over the Manhattan Bridge - that’s a solid 20 minutes at least, for those of you who aren’t familiar with Brooklyn. The progress bar that appears when you’re saving more than one image is not very responsive, so I almost force-quit the app a few times, thinking that it had crashed.
Overall, the experience of using the app is clean and minimal. With judicious application of the presets and settings, the photos that VSCO CAM produces really do capture that classic film feeling. The slow output ws the only thing that marred the experience for me - hopefully this is something the developers can optimize in an update to the app.
From the Archives: Five Boro Bike Tour 2008
On May 4th, 2008 I took part in the Five Boro Bike Tour for the second time. The 42 mile tour passes through all five boroughs of New York City (hence the name), starting in Manhattan and finishing in Staten Island. This panorama was made as we headed south down FDR Drive, which runs along the East River. In the distance, you can see the Ed Koch Queensboro Bridge - aka the 59th Street Bridge.
My Pinterest is Piqued
Source: smashingmagazine.com via YearbookSmart on Pinterest
I’m still trying to figure out the usefulness of Pinterest in my own workflow, but in the meantime, I came across this “Pin” that I found really useful. It leads to a post full of useful photo retouching tips on Smashing Magazine. There are some really quick and easy retouching tips in there, as well as some general-usage Photoshop pointers. Good stuff - even if I don’t eventually figure out Pinterest, I’ll at least be using some of these tips in my own photography workflow.
This is a (Re)sampling Sport
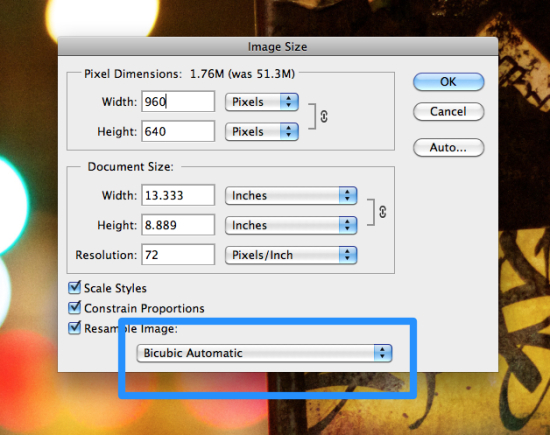
One of the new additions to Photoshop CS6 that will likely have slipped by you is a new addition to the way resizing images is handled. In the past, when using the Image Size dialog box to reduce an image’s size, you’d have to specify that you wanted Photoshop to use the Bicubic Sharper algorithm, which applies some sharpening to make images look their best when shrunk down. On top of that, it wasn’t a “sticky setting” - no matter how many times you selected that option, it Photoshop wouldn’t remember it, and you’d have to choose it every single time.
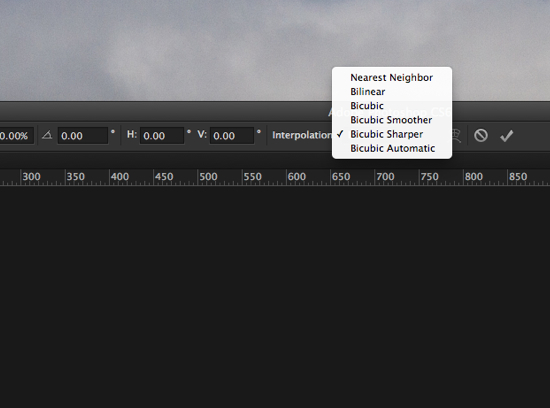
In CS6, although it’s still not sticky, Photoshop defaults to a new option called Bicubic Automatic. As you’d guess from the name, Photoshop intelligently chooses the best resampling algorithm for the job at hand (but you can still go in and override that choice if you like). As a bonus, Adobe has added the resampling options to a pull-down menu in the Options Bar of the Free Transform command.
(Kudos to you if you got the Public Enemy reference in the title of this post.)
Powered by Photoshop CS6
Are you one of the almost a million people out there who has downloaded the public beta of Photoshop CS6? Well, submit your image to Adobe’s Facebook Page, and it could be selected as their official cover photo.
Check out Adobe’s blog for more details and a link to the official rules, and make sure you stamp your image with the official Photoshop CS6 watermark before uploading.
Brooklyn Museum
A quick shot of the Brooklyn Museum just after dusk.
My 10 Favorite New Features of Photoshop CS6
Dark UI
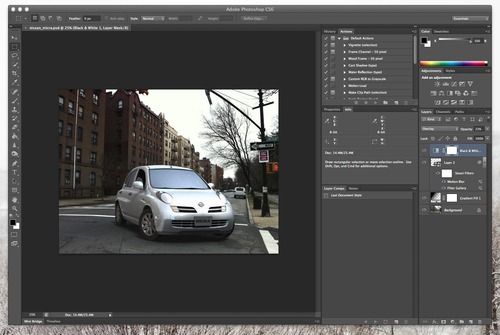 Photoshop’s new dark UI is designed to match with other pro level appsLike me, some of you will love it, but I can already hear the moans of anguish from those of you who will
  The Interface preferences give you four choices of colors, as well as custom options for Photoshop’s three screen modes
Layer Search
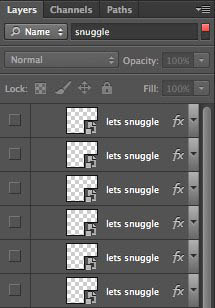 The Layers Panel can be searched by layer name or typeHoly smokes. If you’ve ever opened up a Photoshop document and gazed in despair at a Layers panel full of “layer 2 copy 2 copy”, then this feature needs no explanation. You can not only search for a layer by name, you can filter the list by layer type (pixels, text, adjustment, vector and smart object). Once you see it in action, you’ll wonder how you ever got by without it.
Auto-Save
Blur Gallery
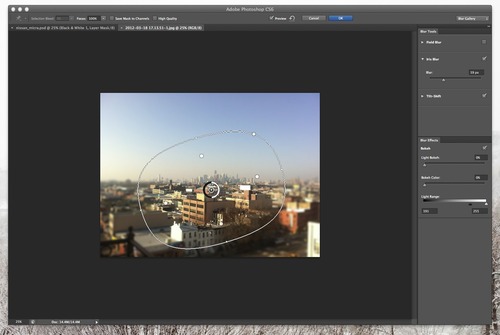 On-canvas editing is big in the new version of Photoshop, as seen here in the Iris Blur tool.Nowadays, everyone is doing all sorts of tilt-shift and selective focus trickery with their smartphones. You didn’t think that Adobe, the predominant imaging software makers, we’re going to sit back and not get in the game, did you? Not that there weren’t already ways of achieving these effects in Photoshop, but three new dedicated tools have been added to the Blur menu to give you these effects with pro-quality results. Field Blur blurs the entire image, Iris Blur creates an oval or rounded blur region, and Tilt Shift creates that miniature effect we’re all so familiar with now. Each of these tools has super-fast and responsive on-canvas editing tools that let you edit the effect without having to go off and fiddle with numbers in a dialog box.
Character and Paragraph Styles
Vector Layers
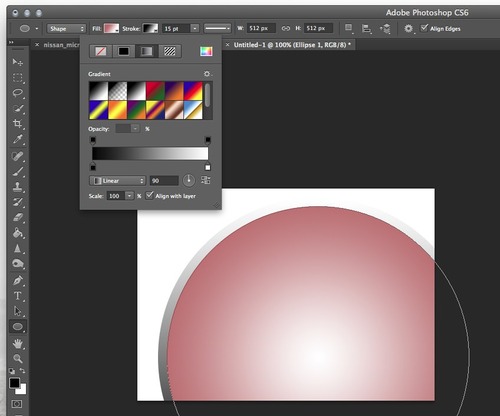 Your Vector Shapes can now have strokes - and those strokes can have solid, gradient, or pattern fillsIt’s a subtle change, but Shape Layers are now Vector Layers, and along with the new nomenclature comes the ability to add all sorts of strokes, including… dashed and dotted lines! Yes, you read that right, no more copy-pasting from Illustrator - you can do it all right in Photoshop. Another feature that’s sure to be hugely appreciated by those doing pixel-precise work is the new Align Edges checkbox, which lives up to its name, forcing Vector Shapes to align to Photoshop’s Pixel Grid, eliminating those fuzzy, anti-aliased edges that we’d sometimes see when creating vectors in Photoshop.
Enhanced Video Editing
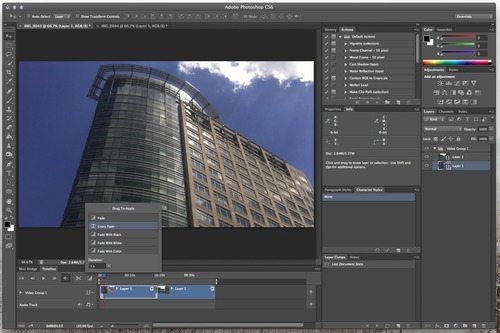 Video editing in Photoshop has gained powerful, but simple to use featuresThis is another area of Photoshop that has been improving progressively over the last several iterations of the software, and this version is no exception. New to CS6 is the ability to preform basic audio edits on a separate track, as well as to quickly add simple transitions between video clips. Also, where video has always been a feature of the Extended version of Photoshop, Adobe has decided that video editing is for the people, so now it’s in the Stsndard version as well.
 Content-Aware Move Tool
Revamped 3D Engine
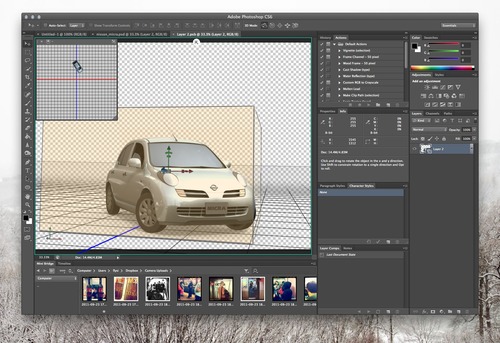 The 3D engine has been revamped completely, focusing on usability and performanceIn another lifetime, I was a pretty hardcore 3D guy, so the consistent, iterative improvements in the Photoshop 3D engine hit a special note for me. The difference between what Photoshop was capable of back in CS3 when 3D was introduced and what it’s capable of now is sort of mind-blowing. From the more streamlined interface, to the beefed up ray-tracing and image-based lighting capabilities, this is a comprehensive and welcome update.
 Performance, Performance, Performance
Bonus Pick: Adaptive Wide-Angle
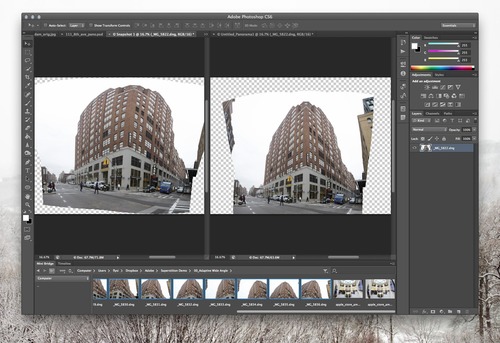 The original image, stitched from 15 carelessly shot images, and the results, produced using the Adaptive Wide Angle filterSeverely distorted fisheye images can be unwrapped using the Adaptive Wide-Angle tool, and it’s really, really impressive.
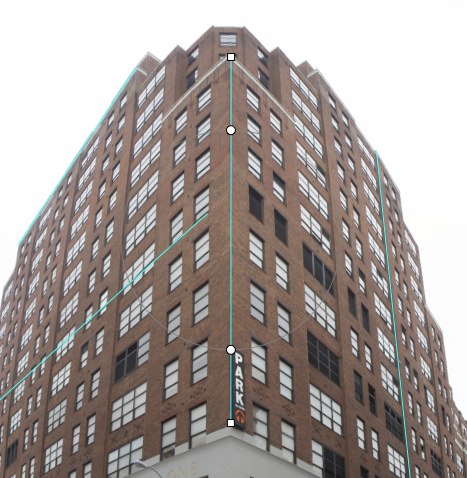 Trace lines in the photo that are supposed to be straight, and the tool, using lens profiles and metadata embedded in the photo (if available) will figure out how to correct it. This is another filter that elicits “oohs” and “aahs” when demoed, and for good reason, as the results are dramatic.
Noise Reduction in Camera Raw 7.0
Swiping through my photo collection on my iPad, I came across a photo I shot in Stonington CT last summer, of a really dramatic stormy sunset at the pier.
Maybe it was my mood or something, but looking back on the image six months later, I thought that it was nice, but the way I had post-processed it didn’t really convey the ominous and dramatic feeling I had when I was standing there. So using Nik Software’s very excellent SnapSeed for iPad, I gave the image a bit more punch, as seen in the photo below.
Great - much more dramatic and otherworldly, but now SnapSeed has found every bit of noise my noise-challenged Canon G10 has imbued the image with, and exacerbated it. I guess a noisy photo is better than no photo… but there has to be a better option, right? Then I remembered the impressive noise reduction capabilities that Brian O’Neil Hughes showed off in his sneak peek of what’s coming up in the new version of the Camera Raw plugin, and then I remembered he mentioned that the same features are available in the new freely available Lightroom 4 Beta. I fired that up, and here’s the result:
Impressive indeed. I’m an Aperture guy, and my workflow is pretty well-entrenched in that software so I’m unlikely to make the switch to Lightroom (though I won’t rule it out entirely). Hopefully the folks at Apple step their game up in the noise reduction department, but in the meantime, once Photoshop Next (or whatever it’s going to be called) comes out, I’m definitely going to be incorporating Camera Raw 7’s noise reduction into my workflow for salvaging images - especially those shot with that poor old G10.









![Sunset at Stonington [326/365]](http://farm7.staticflickr.com/6073/6069324644_1c234793e7.jpg)

